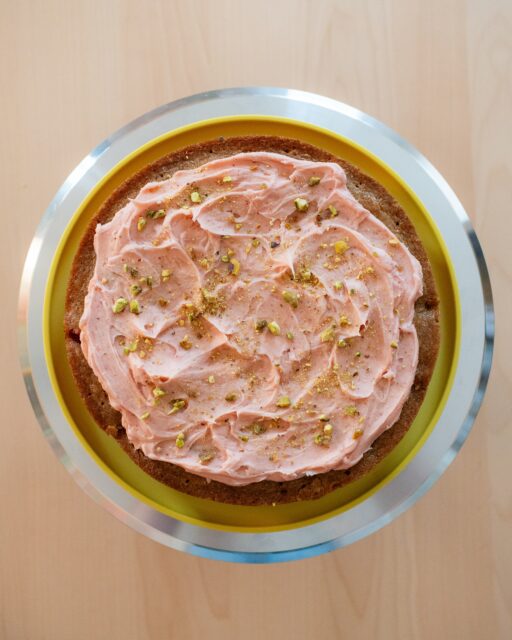
A deliciously simple salted caramel sauce (salt optional) that comes together in 15 minutes and is perfect to drizzle over cakes, cupcakes, and pastries!
This caramel uses the “wet method” which is great for beginners and much easier to handle.

Tips for Making Caramel
Like I mentioned above, this salted caramel sauce uses the “wet method” which essentially just means you’re adding water (you may also see corn syrup sometimes) to the sugar while it boils instead of letting it heat dry. This method is great for those who have never made caramel before and are worried about it burning (or crystallization). With that said, here are some tips to help you succeed and make perfect caramel every time:
- When pouring in your water at the beginning, make sure to slowly pour it down the sides around the outside of the sugar. This ensures there’s no splashing of the sugar onto the sides of the pan (which you don’t want). Then, when you’re gently mixing those together, only do so until the sugar is fully saturated. We’re talking 10-15 seconds here, don’t go crazy.
- While your sugar is boiling and starting to change color, if any sugar splashes onto the sides of the saucepan you want to make sure to get it off. This can lead to crystallization. There’s an easy solution: just dip a pastry brush (or something similar) into some water and brush it around the inside edge of the pan to get that sugar back into the mixture. Any water that drops from your brush will just evaporate, so don’t worry about that!
Pay attention to color, not time.
- Really make sure to watch the mixture around the 7 minute mark when it starts to go from light amber in color to dark. I give you a 7-10 minute cook time for this because every stovetop is different and everyone may be using a different kind of saucepan. Pay attention to the color, not the time. You just don’t want to over-boil the mixture or have it burn.
- When adding your butter and heavy cream, add these gradually (butter one tablespoon at a time, heavy cream slowly poured in). This will ensure a more even and smooth consistency and your caramel is less likely to seize up or harden.
Those are my top tips to help you succeed with this salted caramel sauce, but if you run into any issues I haven’t addressed, please leave them in the comments below and I’ll add/address them!


Materials You’ll Need:
- Medium-sized, heavy bottomed sauce pan (2-3 quarts)
- Whisk
- Spatula
- Measuring cups/spoons
- Heat-safe bowl
- Airtight container or jar for storing

I hope you find plenty of uses for this super simple salted caramel sauce and that my tips help! Please drop any questions in the comments below or send me a DM over on Instagram—I’m here to help.
Share your drool-worthy caramel over on Instagram (tag @joshisbaking), drop a review below, and happy baking!
Print
Simple Salted Caramel Sauce
- Prep Time: 5 Min.
- Cooling Time: ~1 Hour
- Cook Time: ~15 Min.
- Total Time: 1 Hr. 15 Min. (with cooling)
- Yield: ~1 cup caramel
Description
A deliciously simple salted caramel sauce (salt is optional) that comes together in 15 minutes and is perfect to drizzle over cakes, cupcakes, and pastries! This caramel uses the “wet method” which is great for beginners and much easier to handle.
Ingredients
- 1 cup granulated sugar (200g)
- 1/4 cup water (60mL)
- 6 tablespoons unsalted butter (85g), cut into tablespoon-sized pieces
- 1/2 cup heavy whipping cream (125ml)
- Optional: 1 teaspoon coarse sea salt
Instructions
- Before you do anything, prep all of your ingredients and have them ready next to your stovetop. So make sure you have your butter and heavy cream ready to add as soon as they’re needed.
- Pour your granulated sugar into a heavy-bottomed saucepan with high sides (2-3 quarts and wider is better). Gently pour your water down the sides of the pan around the outside of the sugar and then gently stir the two together (whisk or spatula) until the sugar is evenly saturated (careful not to splash any sugar onto the sides of the pan). Don’t stress about how much to mix here, just make sure all of the sugar is wet and then carry on.
- Heat over medium-high heat without stirring until the sugar reaches a dark amber color; this can take anywhere from 7-10 minutes. Your sugar will melt, start to bubble/boil, the water will evaporate, and then the sugar will go from a light to dark amber color. Start paying closer attention around that 7-minute mark so you don’t burn the caramel.
- While this most likely won’t happen: If any sugar splashes onto the sides of the pan while it boils, you can use a pastry brush dip in water and brush around the sides of the pan just above the mixture to make sure the sugar doesn’t crystalize. Any extra water will just evaporate, so don’t worry if some drips in. Again, this is just in case!
- Once it reaches that dark amber color, reduce the heat to medium and immediately start adding in your butter one tablespoon at a time, constantly whisking until it’s fully melted (it may bubble quite a bit, this is normal).
- Once the butter has melted, remove your saucepan from the heat and slowly pour in your heavy cream while whisking at the same time (it will bubble vigorously at first, but begin to calm down). Once the heavy cream is fully incorporated, pour the caramel into a heat-safe bowl and add your coarse sea salt if using.
- Your caramel will thicken as it cools to room temperature (can take about an hour or so depending on the temperature of your kitchen). Once cooled and if not using right away, store in the fridge in an airtight container/jar for up to 2 weeks (see notes below for reheating).
Notes
- Reheating: This caramel is best stored in the fridge (up to 2 weeks in an airtight container/jar) which means it will thicken up even more while it’s in there. When you’re ready to use it, take it out of the fridge and microwave in 10 second increments (stirring after each time) until it gets back to room temperature. Just be careful not to microwave too long or high, otherwise it’ll be too runny and you’ll have to let it cool down again to thicken.
- Watch the Color: The wet method for caramel is easiest as you don’t have to stir the caramel or worry so much about it burning while it heats up. With that said, you still want to keep an eye on the mixture as it nears that 7-minute mark and dark amber color. Adding your butter and heavy cream will help cool it back down and brighten the color, but you still want to avoid burning it before that.
This would be delicious drizzled over my Apple Almond Galette or Apple Cinnamon Pocket Pies!


Leave a Reply